 +1 (409) 800-6601
 contact@virtualbuildingstudio.com


Defined CAD to Revit Path
We documented the steps for converting CAD drawings into Revit models, so every project starts the same way.

Supported an LA-based architecture firm with Revit modeling, permit documentation, and 3D visualizations for a 2,500 square footage residential building.
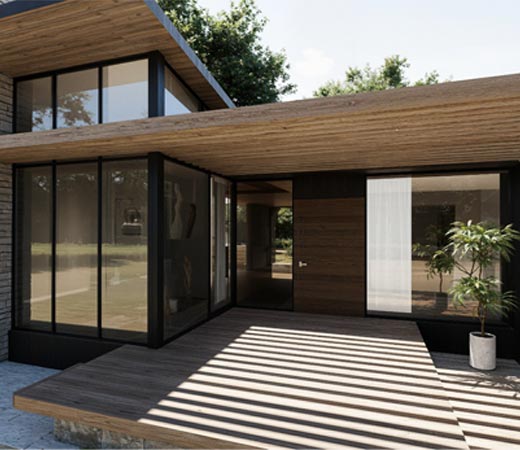
Solo architects handle design, client calls, and drawing production on one calendar. That load slows every project down. This architecture firm is run by one architect who handles five to six projects a month. The firm needed a production partner, so it approached VBS. Our scope covered turning CAD files into a 3D model, then producing construction documents and renders. Quality and rework were the firm’s main worries before starting. Today the architect hands all production to our team and has time for the business side.
 Level of Development LOD 300-400
 Project Area 1,500-2,500 Sq.Ft.
 Location Los Angeles, CA, USA
 Team Size 4
Our team used Revit for modeling, AutoCAD for source drawings, D5 Render for visuals and ClickUp for daily task tracking.
 Revit
 AutoCAD
 D5 Render
 ClickUp
The firm shared project drawings, design requirements and regular markups. The 4-person VBS team used these inputs to prepare the required production deliverables.
A small architecture practice that does a handful of projects per month needs steady production support. The firm had also expressed concerns about quality, coordination and repeated revisions which our team resolved.
Drawings, client calls and approvals all landed on one architect, leaving little time for design.
The architect wanted the models and drawings to be in sync with the design, without having to go over every line himself.
We only had 2-3 hours overlap a day, so it was a concern with an outside team for coordination.
Every missed detail meant another revision cycle which cost time and delayed approvals.
Production took about a month per project, limiting how many jobs the firm accepted.
The client needed a dependable process for managing drafting, modeling, and documentation work.
Each worry became a process step, so quality, coordination and rework were handled before they reached the client.
We documented the steps for converting CAD drawings into Revit models, so every project starts the same way.
Our team held daily coordination meetings and reviewed mark-ups, so questions were answered before work moved ahead.
Each drawing set passed through several review levels so reviewers caught errors before the client saw them.
We trained the people on this project so everyone followed the same process and standards.
Weekly Zoom calls covered progress and emails. Whereas, RFIs recorded decisions. WhatsApp handled quick questions when needed.
Both teams tracked tasks in ClickUp, so neither side had to chase updates on any project.
End-to-End Project Delivery Through a Phase-Controlled Approach
Each project moved through set stages and the full cycle averaged two months depending on approvals and design changes.
Kickoff and Input Review
We reviewed the CAD files and redlines, then confirmed scope, timeline, and deliverables with the client on a call.
Kickoff and Input Review
We reviewed the CAD files and redlines, then confirmed scope, timeline, and deliverables with the client on a call.
CAD to Revit Setup
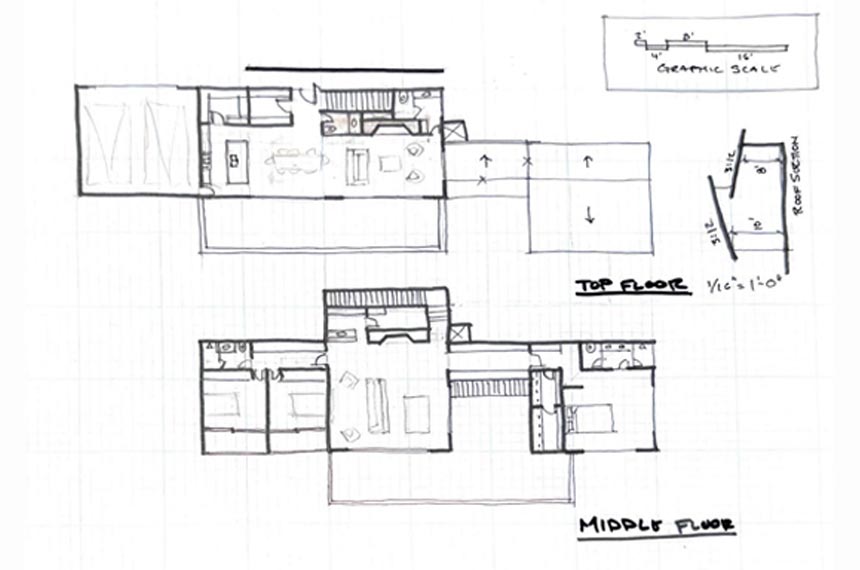
The team converted the CAD drawings into a Revit model of both floors following the agreed process.
CAD to Revit Setup
The team converted the CAD drawings into a Revit model of both floors following the agreed process.
Model Development
We built the model up to the required detail and applied daily markups as they arrived.
Model Development
We built the model up to the required detail and applied daily markups as they arrived.
Drawing Production
Once the model was ready, we produced schematic, design development and construction drawings, along with the permit sets.
Drawing Production
Once the model was ready, we produced schematic, design development and construction drawings, along with the permit sets.
Layered Quality Check
Reviewers checked each set in layers and shared findings through meetings and emails before anything reached the client.
Layered Quality Check
Reviewers checked each set in layers and shared findings through meetings and emails before anything reached the client.
3D Rendering
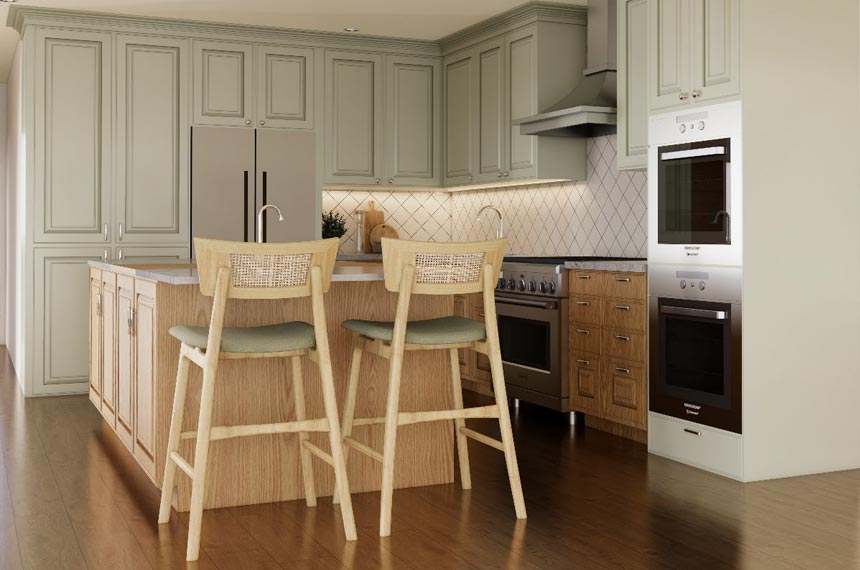
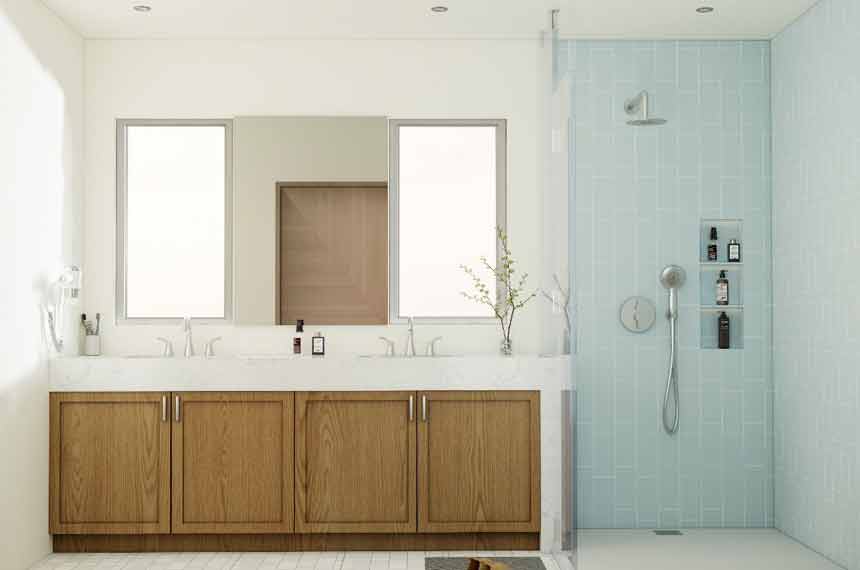
Our team used the finished model to build 3D views and create photorealistic renders in D5.
3D Rendering
Our team used the finished model to build 3D views and create photorealistic renders in D5.
Revisions and Handover
We applied client feedback and approval-related changes, then handed over the final model, drawings, and renders.
Revisions and Handover
We applied client feedback and approval-related changes, then handed over the final model, drawings, and renders.
The client received a complete package, complete production support and the architect spent less time on drawings and more time growing the business.
Handing production to our team lowered the firm’s cost of producing each project.
The architect’s time moved from production tasks to sales and marketing.
Layered QA and daily mark-up reviews caught issues early, cutting back-and-forth with the client.
Shorter delivery times let the firm take on more projects than before.
Let's discuss your requirements and see how our expertise can help on your next project.